In the world of fine leather goods, the details make all the difference. And perhaps no detail speaks more clearly about craftsmanship quality than edge finishing. Professional leather artisans in Italy have long understood that a beautifully finished edge transforms a good leather item into an exceptional one.
The raw, cut edge of leather reveals its fibrous interior—a reminder that this material once belonged to a living creature. Through proper edge finishing, we not only create a more durable product but also honor the material by presenting it in its most refined form.
In this comprehensive guide, we'll explore traditional Italian approaches to edge finishing, from basic burnishing to advanced edge painting techniques used by luxury houses.
Understanding Leather Edges
Before diving into techniques, it's essential to understand what we're working with:
Edge Types
- Cut Edge - The raw edge created when leather is cut
- Folded Edge - Where leather is folded over itself (common in straps and bag handles)
- Turned Edge - Where the edge is skived thin and folded under (common in fine wallets and cases)
- Stitched Edge - Where two or more pieces are joined with stitching
Edge Finishing Suitability
Different leathers respond differently to edge finishing techniques:
- Vegetable-tanned leather - Excellent for burnishing, takes a beautiful natural polish
- Chrome-tanned leather - Typically requires edge paint rather than burnishing
- Oil-tanned leather - Can be burnished but often benefits from edge paint for durability
- Exotic leathers - Usually require specialized techniques and often edge paint

Different leather types showing varying edge characteristics
Essential Edge Finishing Tools
The right tools are crucial for professional results:
- Edge Bevelers - Available in various sizes (#0 for thin leather to #5 for thick leather)
- Sandpaper - Various grits (220, 400, 600, 1000)
- Edge Slicker - Wood, glass, or bone tool for burnishing
- Wooden Burnishing Block - For larger flat edges
- Edge Paint Applicator - Small glass or plastic rod for applying edge paint
- Heating Tool - For activating certain edge paints or heating during burnishing
- Edge Creaser - Creates decorative lines near edges
- Microfiber Cloth - For cleaning and polishing
Technique 1: Natural Burnishing
Burnishing is the traditional method of finishing edges by using friction to heat and compress the leather fibers. This creates a smooth, polished surface that's both attractive and more resistant to moisture.
Step 1: Prepare the Edge
- Begin with a clean, straight cut edge
- Use an edge beveler to remove the sharp corner from both sides of the edge
- Sand the edge progressively with 220, 400, and then 600 grit sandpaper until smooth
- Wipe away all dust with a slightly damp cloth
Italian Master Tip:
For vegetable-tanned leather, slightly dampen the edge before sanding. This creates a finer dust that fills the leather's pores, resulting in a smoother finish.
Step 2: Apply Burnishing Agent
Choose one of these traditional burnishing agents:
- Water - The most basic agent, works well on high-quality veg-tan
- Beeswax - Provides water resistance and a slight sheen
- Gum Tragacanth - A traditional natural agent that helps compress fibers
- Tokonole - A modern Japanese agent that creates an excellent polish
- Glycerin Soap - An old Italian workshop technique
Apply a thin, even coat of your chosen agent to the edge.
Step 3: Burnish the Edge
- With the burnishing agent still damp, use your slicker to rub the edge with firm pressure
- Move in a back-and-forth motion, maintaining consistent pressure
- As friction creates heat, the leather fibers will begin to compress and shine
- Continue until the edge is smooth and slightly shiny

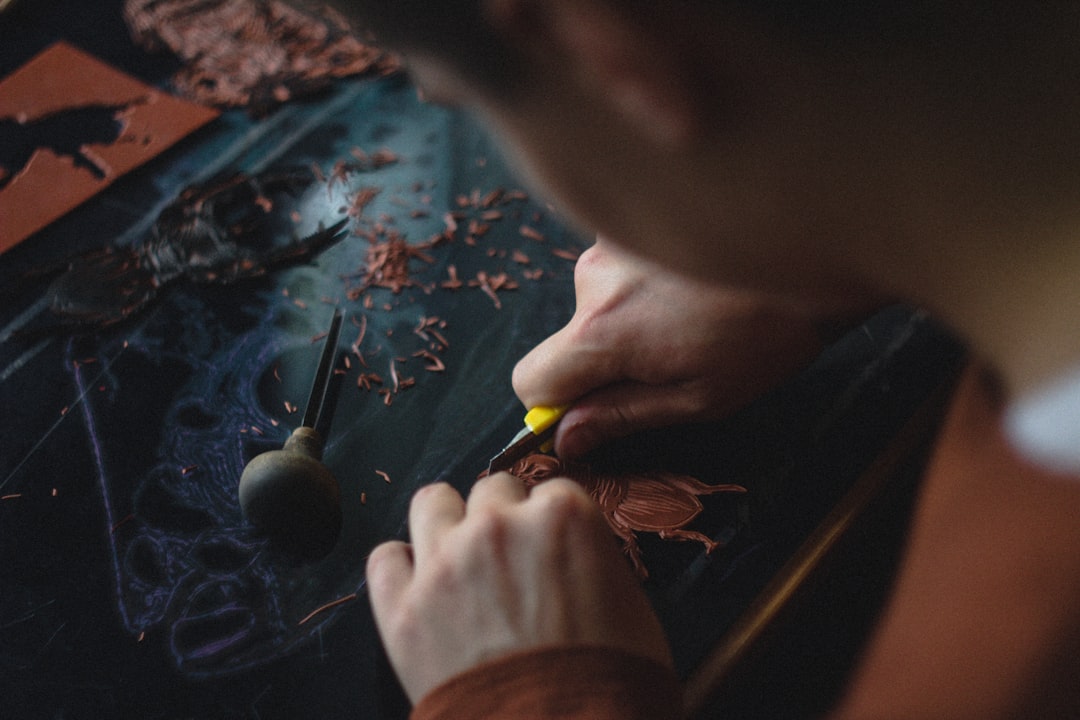
Burnishing a leather edge with a wooden slicker
Step 4: Multiple Rounds for Excellence
For truly professional results:
- Allow the first round of burnishing to dry completely
- Lightly sand with 1000 grit sandpaper
- Apply a second coat of burnishing agent (beeswax is excellent for final rounds)
- Burnish again until you achieve a glass-like finish
- For vegetable-tanned leather, finish by heating the edge slightly and applying pure beeswax
Italian Master Tip:
For the highest gloss finish on vegetable-tanned leather, finish by buffing with a canvas cloth impregnated with beeswax and a touch of carnauba wax.
Technique 2: Edge Painting
Edge painting is preferred for chrome-tanned leathers and when a consistent color is desired, especially with multi-layered or contrasting leathers.
Step 1: Edge Preparation
- Bevel both sides of the edge
- Sand progressively as with burnishing (220, 400, 600 grit)
- Ensure the edge is perfectly clean and free of oils or dust
- For best results, apply a thin layer of edge primer designed for your specific edge paint
Step 2: First Coat Application
- Using your applicator (glass rod or specialized edge paint applicator), apply a thin, even coat of edge paint
- Work in one direction with smooth, confident strokes
- Be careful not to get paint on the surface of the leather
- Allow to dry completely (follow manufacturer's recommendations, typically 15-30 minutes)

Applying edge paint with a glass applicator
Step 3: Sand and Reapply
- Once completely dry, lightly sand with 600 or 800 grit sandpaper to smooth any imperfections
- Clean away all dust
- Apply a second coat of edge paint
- Allow to dry completely
Step 4: Final Coat and Finishing
- Sand very lightly with 1000 grit sandpaper
- Apply a final thin coat of edge paint
- For some edge paints, a heat treatment with an edge creaser or heated slicker can create a higher gloss
- Once dry, polish gently with a clean microfiber cloth
Italian Master Tip:
For luxury goods, many Italian artisans apply 4-5 very thin coats rather than 2-3 thicker ones. This creates an incredibly smooth, durable finish that resembles lacquer.
Technique 3: Edge Creasing
Edge creasing creates a decorative indented line near the edge, adding a refined detail often seen in luxury goods. It can be combined with both burnishing and edge painting.
Basic Creasing Method
- Mark a consistent distance from the edge (typically 2-4mm)
- Heat your edge creaser to the appropriate temperature (test on scrap leather first)
- Apply the heated creaser with firm, even pressure along your marked line
- For vegetable-tanned leather, slightly dampen the line before creasing

Edge creasing creates an elegant detail on leather goods
Specialized Edge Techniques for Different Projects
Bag Handles and Straps
For these high-wear areas, durability is as important as appearance:
- Burnish edges before assembly when possible
- For folded edges, skive the interior side to reduce bulk
- Apply multiple thin layers of beeswax after burnishing for water resistance
- Consider edge paint over burnishing for extremely high-wear items
Wallets and Small Leather Goods
These items require precision and elegance:
- Consider turned edges for a luxurious finish
- For ultra-thin edges, apply gum tragacanth before assembly and burnish after
- When using edge paint, mask adjacent areas with tape for perfect lines
Footwear Edges
The Italian approach to shoe edge finishing:
- Progressive burnishing with specialized shaped slickers
- For dress shoes, a high-gloss wax finish is traditional
- For colored edges, dye before burnishing rather than using paint
Troubleshooting Common Edge Finishing Problems
Fuzzy Edges After Burnishing
Cause: Insufficient sanding or improper leather type for burnishing
Solution: Sand more thoroughly with progressive grits. If using chrome-tanned leather, consider edge paint instead.
Cracking Edge Paint
Cause: Paint applied too thickly or insufficient flexibility in the paint
Solution: Apply multiple thin coats rather than fewer thick ones. Consider adding an edge paint softener for highly flexed areas.
Uneven Edge Coloration
Cause: Inconsistent application or contamination of the edge
Solution: Ensure edges are clean and free of oils before application. Apply paint in consistent, even strokes.
Edge Paint Not Adhering
Cause: Oils in the leather or improper surface preparation
Solution: Clean edges with isopropyl alcohol before application and use a primer designed for your specific edge paint.
Materials Selection for Professional Results
The quality of your edge finishing materials significantly impacts your results:
Burnishing Agents
- Gum Tragacanth: Columbus, Tokonole, or Fiebings brands are reliable
- Beeswax: Pure, unbleached beeswax from beekeeping suppliers is best
- Burnishing Compounds: Seiwa, Tandy, and Fiebings offer quality products
Edge Paints
- Luxury Standard: Vernis edge paint from Stahl France or Giardini edge paint from Italy
- Excellent Options: Uniters, Fenice, or Angelus edge paints
- Primer: Always use the primer recommended by your edge paint manufacturer
Caring for Finished Edges
Proper care extends the life of your edge finishing:
- For burnished edges, reapply a light coat of beeswax every few months
- For painted edges, avoid exposing to solvents or oils that can break down the paint
- Clean edges with a slightly damp cloth and allow to dry completely
- Store leather goods properly to prevent edge damage
Conclusion
Edge finishing is the final signature on your leather project—the detail that separates amateur work from professional craftsmanship. By mastering these techniques, you honor both the material and the tradition of fine leatherworking that Italian artisans have perfected over centuries.
While edge finishing requires patience and practice, the results are immediately noticeable and tremendously satisfying. A perfectly finished edge not only enhances the beauty of your work but also significantly improves its durability and longevity.
At SLKIN Club, we dedicate significant time to edge finishing techniques in all our leather crafting courses. We believe that mastering these finishing details is essential to creating truly exceptional leather goods.