Designing and crafting a leather bag is one of the most satisfying and complex projects for a leather artisan. It combines both technical skills and creative expression, allowing you to create something that's not only functional but also a personal statement of style.
As a former designer for luxury Italian fashion houses, I've guided hundreds of students through their first bag design journey. This comprehensive guide will walk you through the Italian approach to bag design – a methodology that balances aesthetics, functionality, and craftsmanship into a cohesive whole.
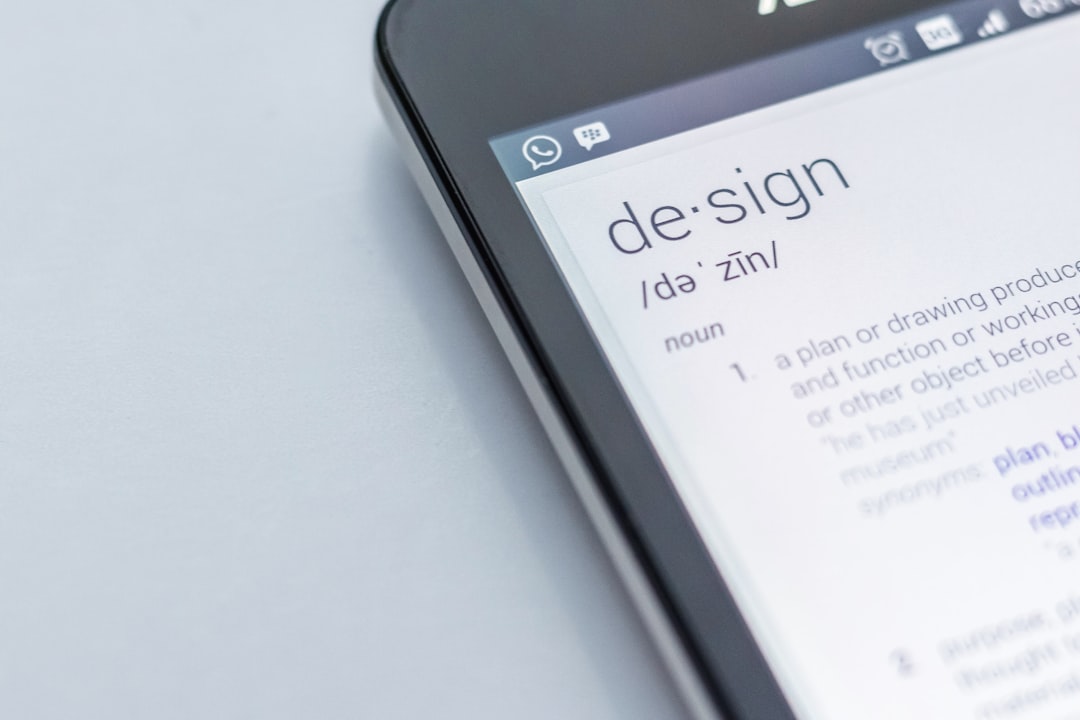
Understanding the Design Process
Before diving into specific techniques, it's important to understand that professional bag design follows a structured process. While creativity is essential, a methodical approach ensures that your design will be both beautiful and functional.
The Italian Design Philosophy
Italian leather bag design is guided by several core principles:
- Form Follows Function - A bag must serve its intended purpose elegantly
- Material Reverence - The design should showcase the beauty of the leather
- Balanced Proportions - Each element is in harmonious relationship with the whole
- Attention to Detail - Small details elevate the overall design
- Longevity - A well-designed bag should improve with age and use
With these principles in mind, let's move through the design process step by step.
Phase 1: Conceptualization
Step 1: Define the Bag's Purpose
Every great bag design begins with a clear understanding of its function:
- Who will use this bag?
- What will they carry in it?
- When and where will they use it?
- How will they interact with it?
Create a brief design brief for yourself that answers these questions. For example: "A compact shoulder bag for a professional woman to carry her essentials during daily commutes and weekend outings. It should fit a small tablet, wallet, phone, keys, and a few personal items, with easy access while maintaining security."
Step 2: Research and Gather Inspiration
Italian designers are known for their deep research before beginning a new design:
- Study historical and contemporary bag designs
- Examine construction methods and hardware options
- Create a mood board with images that inspire you
- Look beyond bags – architecture, nature, and art can all inform your design
A design mood board helps organize your inspiration and vision
Step 3: Initial Sketching
Begin with quick, rough sketches to explore different forms and ideas:
- Don't aim for perfection – quantity over quality at this stage
- Explore various silhouettes, closures, and handle options
- Consider different views (front, side, top, etc.)
- Note specific features or details you want to include
Designer Tip:
If you're not confident in your drawing skills, use simple geometric shapes to represent the basic form. You can also photograph and modify existing bags, or create collages from different bag elements you like.
Phase 2: Design Development
Step 1: Refine Your Concept
Select the most promising ideas from your initial sketches and develop them further:
- Create more detailed drawings with proper proportions
- Consider the bag from all angles
- Think about how the bag will sit or hang when in use
- Begin to consider practical aspects like closures and access
Step 2: Consider Materials and Construction
In Italian bag design, the choice of leather and construction methods is integral to the design itself:
- Select appropriate leather type for your design (structure vs. drape)
- Consider weight, texture, and finish of the leather
- Decide on lining materials and interfacing needs
- Choose hardware that complements your design (zippers, clasps, D-rings, etc.)

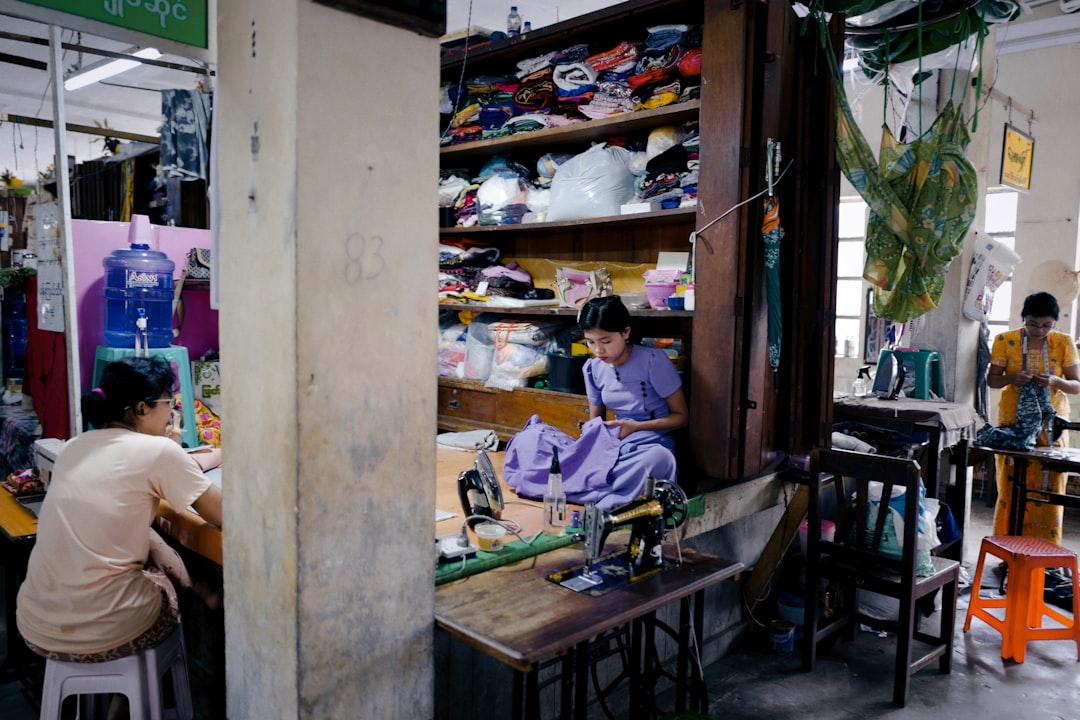
Selecting appropriate materials is a crucial part of the design process
Step 3: Technical Considerations
Now is the time to address the practical aspects of your design:
- How will the bag open and close?
- What are the dimensions and proportions?
- How will handles or straps attach securely?
- What internal organization features are needed?
- How will the bag be constructed (turned, bound edges, etc.)?
Designer Tip:
Create a small-scale model (approximately 50% size) in paper or inexpensive fabric to test your proportions and general design before moving to leather. This "quick and dirty" prototype can save you from costly mistakes.
Phase 3: Pattern Making
Pattern making is where your design becomes technical and precise. This is a critical stage that determines the success of your final bag.
Step 1: Create a Basic Pattern
- Draw the main pattern pieces at full scale on pattern paper
- Include all external panels, gussets, handles, and straps
- Mark clear grain lines (direction of leather stretch)
- Include reference points for alignment
Step 2: Add Construction Details
- Include seam allowances (typically 5-10mm for leather)
- Mark stitch lines and hardware placement
- Indicate fold lines and any darting or shaping
- Create patterns for lining pieces (often slightly smaller than exterior pieces)
- Add patterns for internal pockets and organization
Detailed pattern making with construction marks and notes
Step 3: Test and Refine
Before cutting into your leather, validate your pattern:
- Create a full-size mockup in canvas, felt, or inexpensive leather
- Assemble the mockup completely
- Test functionality, proportions, and overall appearance
- Make adjustments to the pattern as needed
- Repeat the mockup process if changes are significant
Designer Tip:
Even professional bag designers rarely get a pattern perfect on the first try. Expect to go through at least one or two rounds of pattern refinement. Remember that each adjustment at the pattern stage saves expensive leather and frustration later.
Phase 4: Material Selection and Preparation
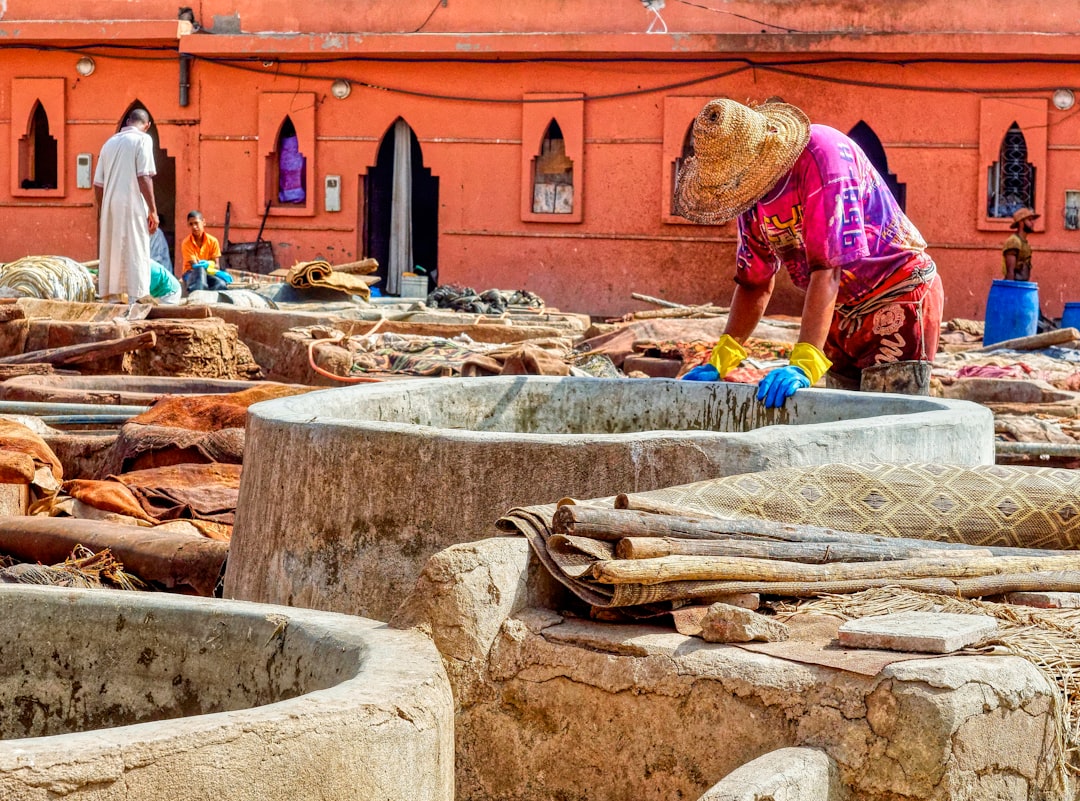
Step 1: Choose Your Leather
The leather you select should align with both your design and the bag's intended use:
- Structured Bags: Vegetable-tanned leather with good body (2.5-3.5mm thickness)
- Soft, Slouchy Bags: Chrome-tanned, oil-tanned, or softer veg-tan leathers (1.5-2.5mm)
- Gussets and Flexible Areas: Slightly thinner or more pliable leather
- Reinforcement Areas: Thicker, more rigid leather or appropriate interfacing
Step 2: Prepare Your Materials
Before cutting, ensure all materials are properly prepared:
- Examine leather for flaws or thin spots
- Plan your cutting layout to maximize leather use
- Consider the leather's stretch direction and grain
- Pre-treat suede or nubuck if water resistance is desired
- Organize all hardware, thread, and tools
Step 3: Material Layout and Cutting
Cutting leather requires precision and care:
- Arrange pattern pieces on leather to minimize waste
- Consider leather characteristics when placing pieces (avoid stretchy areas for structured parts)
- Use pattern weights to hold pieces in place
- Trace around patterns with a silver pen or awl
- Cut with a sharp blade, using long, smooth strokes
- Label pieces as you cut them
Strategic layout of pattern pieces on leather minimizes waste
Phase 5: Construction
The construction phase brings your design to life through a sequence of technical steps.
Step 1: Prepare the Components
- Skive areas that will be folded or joined
- Apply any edge treatments or paint
- Prepare and attach hardware
- Create and finish straps and handles
- Construct interior pockets and organization features
Step 2: Assembly Sequence
Professional bag makers follow a logical assembly order:
- Assemble the lining first (if separate from the exterior)
- Construct exterior pockets and attach them to panels
- Join main body panels according to your construction method
- Attach gussets or side panels if applicable
- Install closure mechanisms
- Join lining to exterior (if not done as part of construction)
- Complete the opening edge finish
- Attach handles or straps last
Designer Tip:
Document your construction process with notes and photos. This creates a valuable reference for future projects and helps you identify where improvements can be made in your next bag design.
Step 3: Finishing Touches
The final details that elevate your bag:
- Burnish or finish all exposed edges
- Add protective feet if appropriate
- Apply leather conditioner or finish
- Check and reinforce all stress points
- Add a maker's mark or signature detail

Applying finishing details to complete the professional look
Common First-Time Bag Design Challenges
Proportion Issues
Challenge: Bag looks different than envisioned, either too large, too small, or imbalanced.
Solution: Use the "rule of thirds" for pleasing proportions. Create paper or cardboard models at full scale before cutting leather. Compare with existing bags of similar function.
Structural Problems
Challenge: Bag sags, won't stand upright, or loses shape when filled.
Solution: Consider appropriate interfacing materials like leather reinforcements, bag stiffeners, or rigid bottoms. The structure must be designed in from the beginning.
Functional Limitations
Challenge: Bag is beautiful but not practical – difficult to access contents, uncomfortable to carry, etc.
Solution: Test your mockup by actually using it. Put items inside, carry it around, open and close it repeatedly. Functionality issues will quickly become apparent.
Design Considerations for Specific Bag Styles
Tote Bags
- Reinforced handles with proper distribution of weight
- Secure top closure if valuable items will be carried
- Internal organization to prevent items from getting lost
- Base structure to maintain shape when set down
Cross-body or Shoulder Bags
- Strap width and attachment points for comfort
- Security features like zippered compartments
- Balance between accessibility and security
- Strap adjustability for different body types or wearing styles
Clutches and Small Bags
- Size proportional to contents (e.g., phone, cards, keys)
- Secure but easily operated closures
- Optional wrist strap or chain for versatility
- Interior organization despite limited space
Evolving Your Design Skills
Bag design is a skill that develops over time. After completing your first bag:
- Evaluate what worked well and what could be improved
- Use the bag yourself to identify functional strengths and weaknesses
- Consider how different leathers might change the character of the design
- Explore variations – how could you adapt this design for different uses?
Conclusion
Designing your first leather bag is an ambitious undertaking that combines creativity, technical skill, and problem-solving. While the process may seem overwhelming at first, breaking it down into these methodical phases makes it manageable and rewarding.
Remember that every designer, no matter how accomplished, was once a beginner. The Italian tradition of leather bag making has been built over generations, with each artisan learning through practice, observation, and persistence.
At SLKIN Club, our Bag Making Masterclass guides you through this entire process with expert instruction and hands-on support. We encourage you to dream boldly but plan meticulously – the hallmark of Italian design excellence.
Your first bag design is just the beginning of a journey that can lead to creating pieces of both beauty and purpose – bags that tell your unique story through leather.